Home | MK3 History | Jetta GLX | Specifications | Modifications | FAQ's | Tech Tips | Links | Contact Us
MK3 Revolution
TTs - Hella Long Foglights

"...Seemless lighting works wonders...!"

With all the rocks on the road, and the UV rays from the long sunny days of driving, the OEM fog lights and dummy reflective panels take alot of abuse.  So much, that they begin to lose their luster, or crack, or fall out...  Willing to move away from that?  Perfect!  There are a handful of companies that have different lighting options for the MK3.  This Tech Tip is specifically for the Hella long foglights, but the same ideas and concepts apply from this if other light options are choosen.

1.)  Begin on either fog light of the vehicle and remove the dummy panel with a screwdriver.  There will be a metal clip on the side thats away from the center of the car; gently pull out from front fasica.
 
2.)  Second remove the turn signal housing; again there are two metal retaining clips on the side.  Gently pry back and lift out; unplug wiring harness from light bulb.
 
3.)  Unbolt the OEM fog light.  There will be 8mm nuts on the backside; use an open-end wrench to hold them while unscrewing the 8mm bolt.  Remove the nuts, bolts, and the body fastener from the fasica.
 
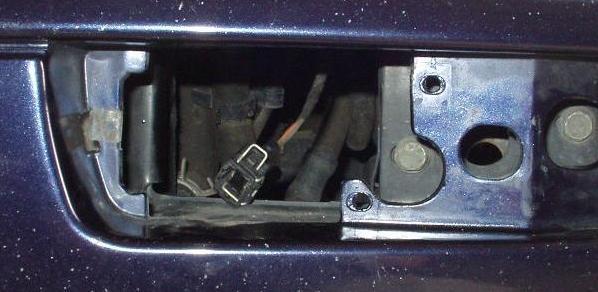
4.)  From underneath the vehicle, unclip the OEM fog light from the car.  The retaining clip is on side closest to the center of the vehicle; use a flathead screwdriver to apply pressure on the clip.  * Note: Removal of the front splash guards may be needed to get one's arm up inside behind the fog light. *  Remove fog light from car and unplug wiring harness.
 
5.)  Take the Hella long fog light and test fit; notice with the North American bumpers it will not fit directly.  Trimming to the fasica will be needed.
 
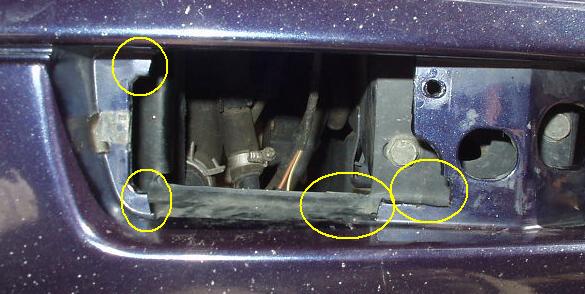
6.)  Using an utility or exact knife, carefully trim out pieces of the fasica that are only needed.  Notice that only one of the OEM installation hold will be removed, this gives the option of re-installing the OEM fog lights if desired at a later date.  * Be careful not to cut yourself! *  Cut little sections at a time and always test fit the long fogs multiple times.
 
7.)  Once cutting is completed and the long fog fits pretty snug, re-install turn signal housing.  Test fit long fog with turn signal housing; more trimming made be needed for a seemless fit.
 
8.)  Once fit and finish is aquired, plug in wiring harness to long fog and install to fascia.  The metal retaining clip should snap to secure the long fog to the fascia.
 
9.)  Repeat steps 1 - 8 for the opposite, remembering that all the hardware is on the opposite side due to symmetry of the vehicle.
 
10.)  When dark, align fog lights to appropriate veiwing height.

- Average Time:  45 - 60+ minutes 
- Scheduled Maintenance:  none - personal customization
Price of Items:  Hella long fog lights ~ $150+ (new)
- Tools Needed:  8mm socket
                               8mm wrench
                               flathead screwdriver
                               T-25 torx screwdriver
- Written by Erik Melander

foguncut.jpg

Shown above and below is the driver side of the fascia.  Once the OEM fog light is removed, line up the long fog and make a metal to where to trim.  To confim to where to cut, place some car wax or other marking fluid on the long fog clips and press against the fascia to score.

fogcutmarked.jpg

Highlighted is where the trimmed piece were removed from the front fascia.  Notice that one of the original mounting holes remain if OEM are wanted to be re-installed.  Be conservative on trimming, more can always trimmed off... it's harder to add back on.

hellafogs.jpg

Fully installed; notice the flush fit with the turn signal housings and the rest of the vehicle.  * Note: since the long fogs are housed in plastic in comparision to the glass housed OEMs, they tend to melt under high day-time useage. *  Refrain from using them during long periods of time on warm days and no bubbling or melting of the housing should not occur.