1.) To remove the existing lip, begin at either side of the car and
unscrew the splash guard from the wheel well and front lip; set aside. Repeat on opposite side.
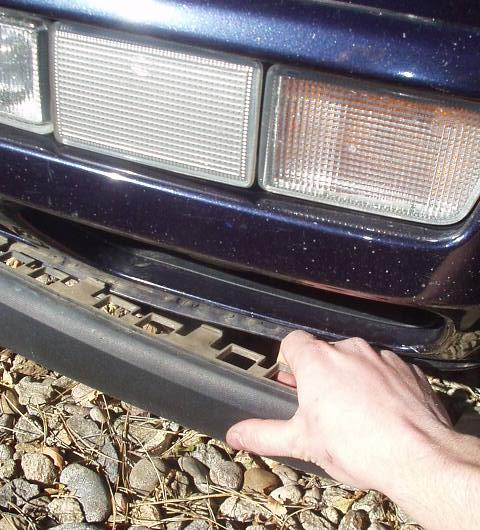
2.) On either side of the car, take a flat-head screwdriver and push down on the first
retaining tab the lip on the inside of the fasica.
3.) Using gentle force, pull the lip outward, away from the car to remove it. Once
the first tab is released from the fasica, the lip should come off with little effort.
4.) Remove opposite side of lip by repeating steps 2 and 3; both the North American and
German euro lip come in two sections.
5.) Next, using a utility razorblade, trim off about 1/4" to 3/8" of the bottom edge
lip of the entire front fascia. * You will need to
trim off this to have the euro lip fit correctly. * ** Make sure to be careful not to cut yourself! **
Trimming will also allow the euro lip tabs to snap in to the fasica.
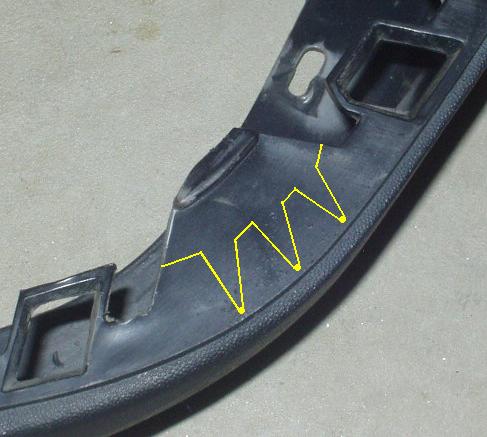
6.) Also, a slight modification must be made to the euro lip to have it fit correctly.
On both pieces, the inside corners must be cut out and notched so that the lip can flex. * Again,
uou will need to modify the inside corner to have the euro lip fit correctly.
* Use pilot drill holes first and then use a utility razorblade to cut out the pattern shown.
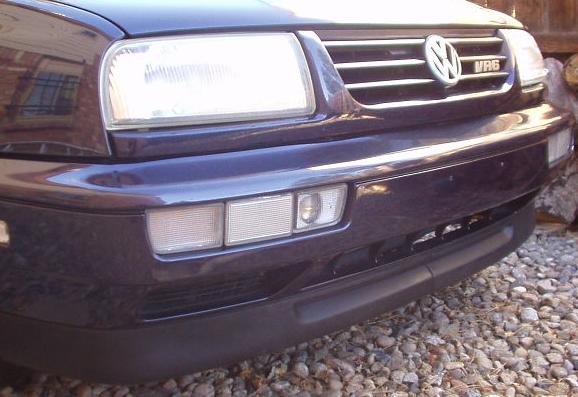
7.) Once both pieces have been notched, return to the vehicle and proceed to test fit.
8.) Install the euro lip by, taking either driver or passenger side piece, and at the center
of the car, push in the euro lip so the tab snap into the fasica. * If tabs do not snap into place,
check position of euro lip. If position is correct, more trimming of the front fasica is required for a firm fit. *
Install opposite side; make sure that the two piece connect correctly.
9.) Install (if purchased) euro splash guards with existing hardware; the North American
guards will not fit with the euro lip. Wash car or glaze euro lip with tire shine if desired to remove hand / fingerprints.